When it comes to renovating your home or upgrading your flooring, installing wooden flooring can be a fantastic choice. It adds warmth, elegance, and a timeless appeal to any space. However, the thought of removing existing tiles before installing wooden flooring can be daunting and time-consuming. Luckily, there is a solution: you can install wooden flooring directly over existing tiles! In this comprehensive guide, we will walk you through the step-by-step process of installing wooden flooring over existing tiles. Whether you’re a seasoned DIY enthusiast or a beginner, this guide will provide you with the knowledge and confidence to transform your space with stunning wooden flooring.
Table of Contents:
- Assessing the Feasibility
- Preparing the Tiles
- Gathering the Necessary Tools and Materials
- Measuring and Ordering the Wooden Flooring
- Preparing the Subfloor
- Installing the Underlayment
- Installing the Wooden Flooring
- Finishing Touches
- Maintenance and Care
Assessing the Feasibility
Before you begin the installation process, it is crucial to assess the feasibility of installing wooden flooring over existing tiles. While it is generally possible, there are certain factors to consider. These include the condition of the tiles, their stability, and the height difference between the tiles and surrounding surfaces. Additionally, it’s essential to ensure the tiles are clean, dry, and free from any loose or damaged pieces. By thoroughly examining the existing tiles, you can determine whether they are suitable for the installation of wooden flooring.
Preparing the Tiles
Preparing the tiles is a critical step that sets the foundation for successful installation. Start by cleaning the tiles thoroughly to remove any dirt, grease, or debris. A mild detergent and warm water solution, along with a soft-bristle brush, can be used for this purpose. Once clean, inspect the tiles for any cracks, chips, or loose pieces. Repair or replace any damaged tiles to ensure a level and stable surface. Prior to moving on, allow the tiles to completely dry.
Gathering the Necessary Tools and Materials
To install wooden flooring over existing tiles, you will need a range of tools and materials. Some essential items include a tape measure, pencil, safety goggles, ear protection, pry bar, circular saw, jigsaw, drill, screws, underlayment, adhesive, wooden flooring, and finishing materials. Make sure to gather all the required tools and materials before you start the installation process to avoid unnecessary delays.
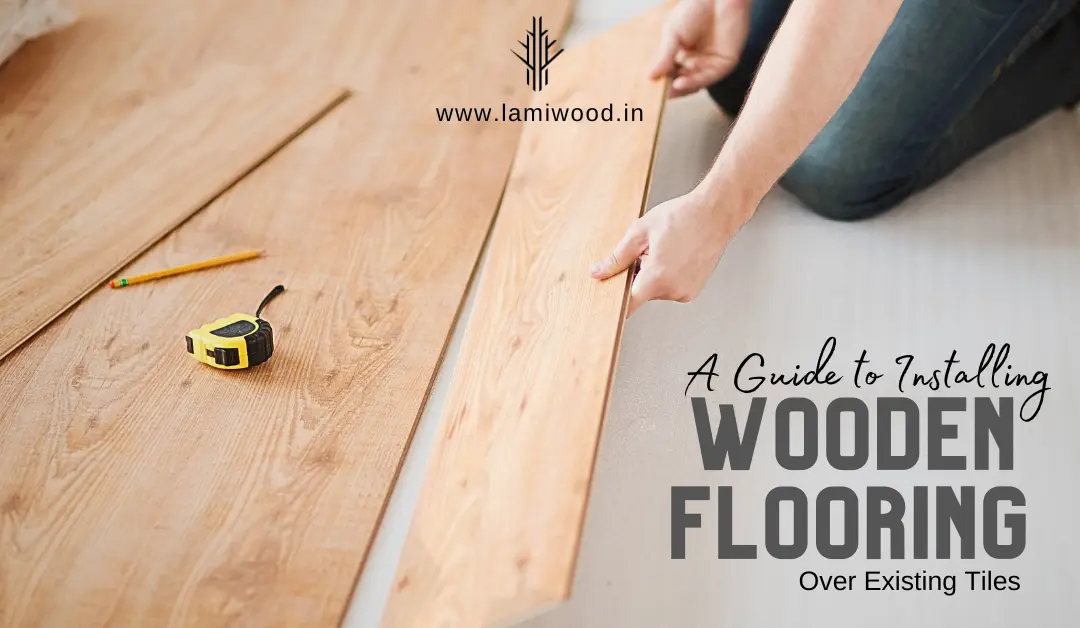
Measuring and Ordering the Wooden Flooring
Accurate measurements are crucial for ordering the correct amount of wooden flooring. Measure the length and width of the room, accounting for any nooks, corners, or obstacles. It’s recommended to add 5-10% to the total square footage to account for any mistakes or waste. With precise measurements in hand, you can confidently order the required amount of wooden flooring, ensuring a seamless installation process.
Preparing the Subfloor
Before installing the wooden flooring, ensure that the subfloor is clean, dry, and level. Remove any existing baseboards or moldings, and check for any protruding nails or screws. If the subfloor is uneven, it may require leveling with a suitable leveling compound or plywood underlayment.
Installing the Underlayment
The underlayment provides cushioning and moisture protection for the wooden flooring. Roll out the underlayment across the entire floor, trimming it to fit the shape of the room. Secure the underlayment with staples or adhesive, ensuring there are no overlaps or gaps between the sections.
Installing the Wooden Flooring
Carefully read the manufacturer’s instructions for your specific type of wooden flooring. Start the installation in a corner of the room, laying down the first row of planks parallel to the longest wall. Use spacers to maintain a consistent gap between the flooring and the walls. Continue laying the planks row by row, interlocking them securely. Use a mallet or flooring installation kit to ensure a tight fit.
Finishing Touches
Once the wooden flooring is installed, reinstall the baseboards or moldings to cover the expansion gaps. Fill any nail holes or gaps between the planks with wood filler. Sand the flooring lightly to remove any imperfections and ensure a smooth surface. Finish the floor with an appropriate sealant or stain for protection and to enhance its natural beauty.
Maintenance and Care
To keep your wooden flooring looking its best, regular maintenance is essential. Remove dirt and debris from the floor each day by vacuuming or sweeping. Use a damp mop with a mild wood floor cleaner to clean up spills or stains promptly. Excessive water can damage the wood, so avoid using it. Place mats at entryways to trap dirt and prevent it from being tracked onto the floor. Use furniture pads to protect the floor from scratches caused by moving furniture.
Taking a stance
Installing wooden flooring over existing tiles can be a fantastic way to update your space and create a warm, inviting atmosphere. With proper preparation and careful installation, you can achieve a beautiful and long-lasting result. Remember to install an appropriate underlayment, follow the correct installation techniques, and apply the necessary finishing touches. Additionally, regular maintenance and care will ensure that your wooden flooring retains its beauty for years to come. So go ahead, take the leap, and transform your space with the natural elegance of wooden flooring.