If you are planning to update your home with new wooden flooring, one of the first steps in the process is removing your old flooring. Whether you are replacing worn-out wooden flooring or upgrading from another type of flooring material, removing your old flooring can be a challenging and time-consuming task. Here are some best practices for removing old wooden flooring, to help make the process as smooth and efficient as possible.
Tools and Materials Needed
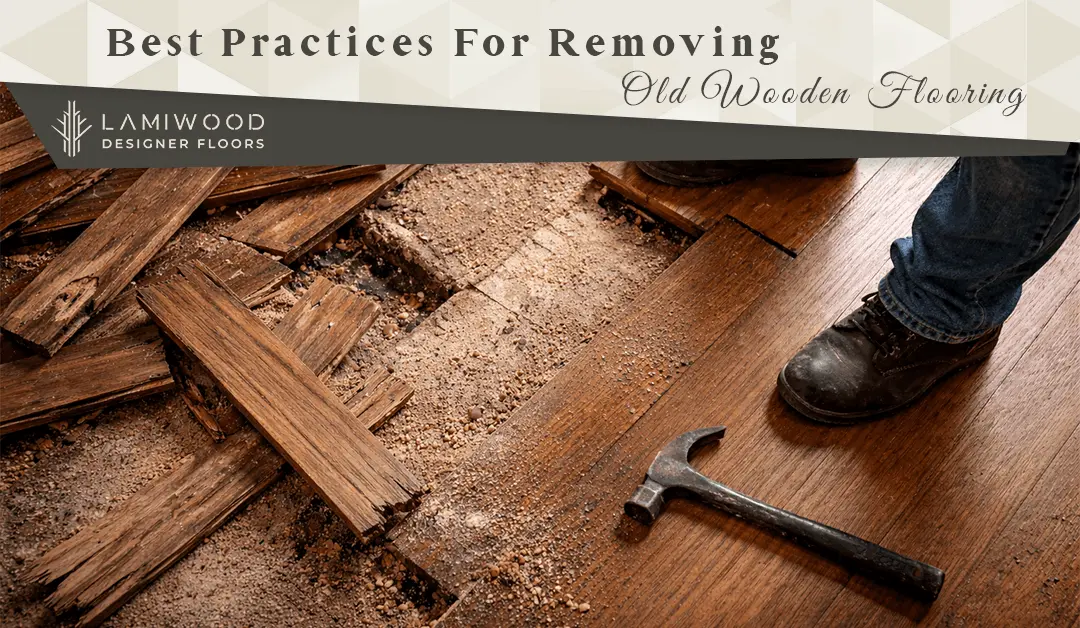
- Pry bar
- Hammer
- Utility knife
- Pliers
- Safety glasses
- Dust mask
- Work gloves
- Broom and dustpan
- Garbage bags
Steps for Removing Old Wooden Flooring
- Clear the Room
Before you begin removing your old wooden flooring, it’s important to clear the room of all furniture, décor, and other items. This will give you plenty of space to work and prevent any damage to your belongings during the removal process. If possible, remove any baseboards or trim from the walls as well, to make it easier to remove the flooring.
- Start in a Corner
Once the room is cleared, start the removal process in a corner of the room. Use a pry bar to gently lift the edge of the first wooden plank, being careful not to damage the subfloor underneath. If the plank is stubborn, you may need to use a hammer to gently tap the pry bar and loosen the plank.
- Work in Sections
As you remove each plank, work in small sections to avoid overwhelming yourself or causing damage to the subfloor. Use a utility knife to score the top of each plank along the seams, which can make it easier to lift and remove the planks. Be sure to wear safety glasses and a dust mask to protect yourself from any debris or dust that may be generated during the removal process.
- Remove Stubborn Planks
If you encounter any stubborn planks that are difficult to remove, you may need to use a bit more force. Use pliers to grip the edge of the plank and gently twist and pull until it comes loose. Be careful not to damage the subfloor or any adjacent planks in the process.
- Clean Up
As you remove each section of flooring, be sure to clean up any debris or dust that accumulates. Use a broom and dustpan to sweep up any loose particles, and dispose of the old flooring in garbage bags or a designated waste container. This will help to keep your work area clean and safe and prevent any debris from interfering with the installation of your new flooring.
- Inspect the Subfloor
Once you have removed all of the old wooden flooring, take a moment to inspect the subfloor underneath. Look for any signs of damage, unevenness, or moisture that may need to be addressed before installing your new flooring. If necessary, use a self-leveling compound or moisture barrier to prepare the subfloor for installation.
Also Read – Choosing the Right Adhesive for Your Wooden Flooring Installation
Tips for a Successful Wooden Flooring Removal
- Take your time and work carefully to avoid damaging the subfloor or any adjacent flooring.
- Wear appropriate safety gear, including gloves, safety glasses, and a dust mask, to protect yourself from debris and dust.
- Use the right tools for the job, including a sturdy pry bar and a sharp utility knife, to make the removal process easier and more efficient.
- Work in small sections to avoid overwhelming yourself or causing damage to the subfloor.
- Clean up regularly as you work to keep your work area safe and free of debris.
Conclusion
Removing old wooden flooring can be a challenging and time-consuming task, but with the right tools, techniques, and safety precautions, it can be done efficiently and effectively. By following these best practices for removing old wooden flooring, you can prepare your space for a beautiful new installation and enjoy your updated home for years to come. Remember to take your time, work carefully, and always prioritize safety to ensure a successful and stress-free removal process.