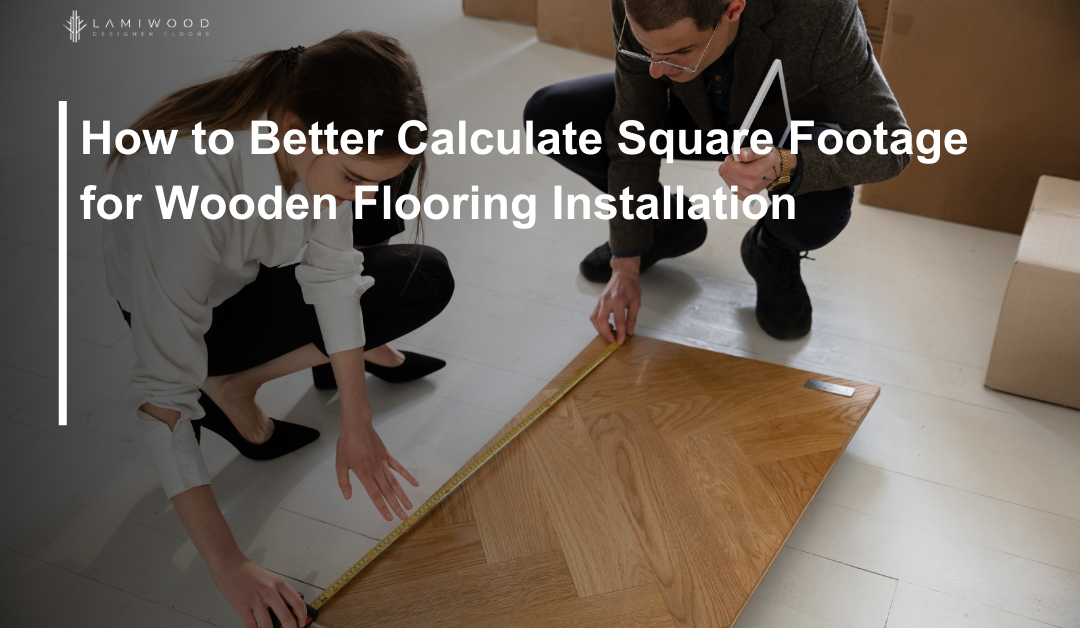
Calculating square footage accurately is crucial for a successful wooden flooring installation project. Whether you are a seasoned Do-it-Yourself (DIY) enthusiast or a professional contractor, mastering the art of square footage calculations can streamline the process, save costs, and ensure a flawless finish. Let’s explore the steps, methods, and advice for measuring square footage when installing wooden flooring in this detailed guide.
Understanding Square Footage Calculation:
Before you start installing flooring it’s important to grasp the idea of measuring footage. Square footage is the total room area measured in feet. To find the footage simply multiply the room length by its width. In the case of shaped rooms break them down into parts and calculate each part’s square footage individually.
Precise Ways to Take Measurements:
- Start by using a measuring tape to figure out the length and width of the room.
- Make sure to measure the widest areas of the room to accommodate any variations.
- Note down the measurements, in feet rounding up to the foot for ease of calculation.
- Consider any alcoves, closets, or projections, as entities. Deduct their square footage from the overall total.
Consideration for Plank Direction:
- Determine the desired plank direction for your wooden flooring installation.
- Make sure to measure the room length and width in line, with the direction of the planks you’ve selected.
- Adjust calculations for diagonal or herringbone patterns, if applicable.
Adding Wastage Buffer:
- It’s prudent to add a buffer for wastage when purchasing wooden flooring materials.
- Industry standards recommend adding 5-10% to the total square footage to account for cutting waste, mistakes, and future repairs.
Double-Check Measurements:
- Before finalizing the purchase of flooring materials, double-check all measurements for accuracy.
- Ensure that calculations include proper allowances for wastage and irregularities.
Consultation with Experts:
- If unsure about calculations or the amount of flooring needed, seek guidance from flooring experts or professionals.
- Professionals can offer perspectives suggest resources and assist in fine-tuning the measurements of space.
Practical Application of Square Footage Calculation:
Now that we’ve covered the fundamentals of square footage calculation, let’s apply this knowledge to a practical scenario:
Scenario:
You’re planning to install wooden flooring in a rectangular room with the following dimensions:
Length: 20 feet
Width: 15 feet
Desired Plank Direction: Parallel to the longest wall
Wastage Buffer: 10%
Calculate Square Footage
Length: 20 feet
Width: 15 feet
Square Footage = Length x Width = 20 ft x 15 ft = 300 sq. ft.
Add Wastage Buffer
Wastage Buffer = 10% of 300 sq. ft. = 30 sq. ft.
Total Square Footage Needed = 300 sq. ft. + 30 sq. ft. = 330 sq. ft.
Consultation with Experts
If uncertain about the amount of flooring needed or the installation process, seek advice from flooring professionals.
Conclusion
Mastering square footage calculations for wooden flooring installation is essential for ensuring a smooth and successful project. By following accurate measurement techniques, considering plank direction, adding a wastage buffer, double-checking measurements, and seeking expert advice when needed, you can achieve precise calculations and optimize the efficiency of your wooden flooring installation. With careful planning and attention to detail, you’ll be well-equipped to tackle your next wooden flooring project with confidence and success.

